Having perfectly polished nails can make you feel confident and put-together. However, constantly going to the salon for a manicure can be time-consuming and expensive. Luckily, with the right tools and techniques, you can achieve the same results at home. One essential tool for achieving perfectly polished nails is a nail buffer.
In this article, we will talk about why it’s good to use a nail buffer and how to use it well.
What is a Nail Buffer?
A nail buffer is a tool used to smooth and shine the surface of your nails.
It’s usually made of a soft material with different roughness on each side.
The grits range from coarse to fine, allowing you to shape, smooth, and shine your nails in one tool. Some nail buffers also come with a cuticle pusher on one end, making it a versatile tool for at-home manicures.
Benefits of Using a Nail Shining Buffer
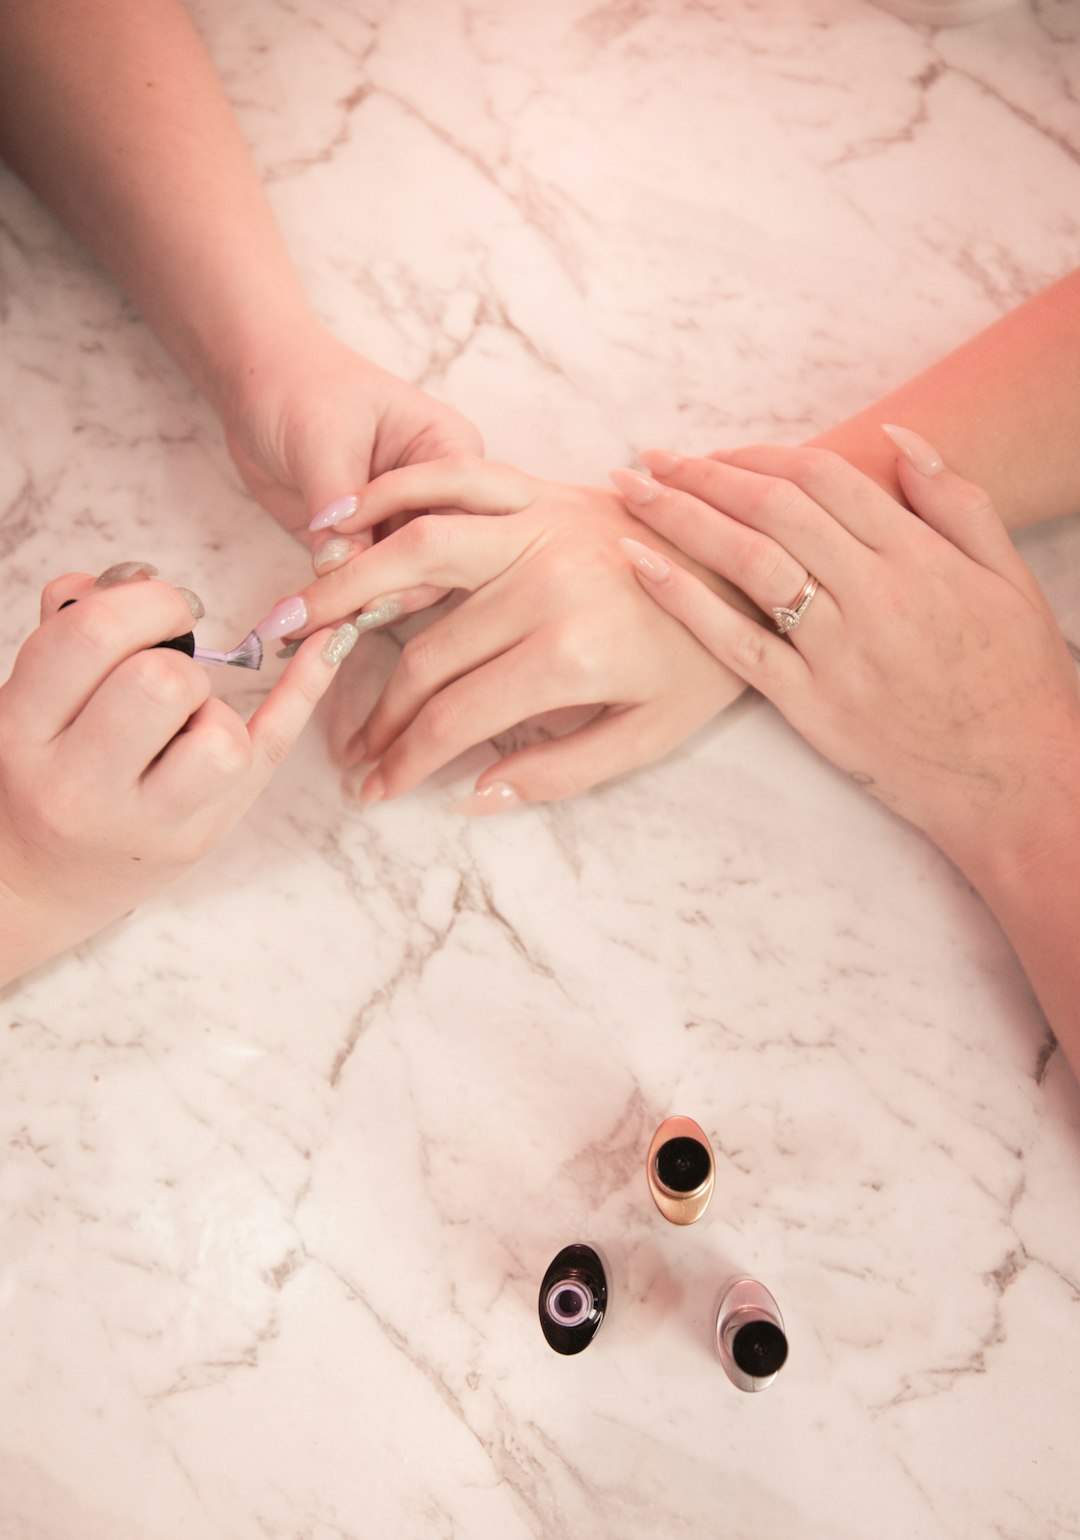
by Jesse Donoghoe (https://unsplash.com/@sweetspotphoto)
Using a nail buffer has several benefits, including:
- Saves time and money: With a nail buffer, you can achieve salon-quality nails at home, saving you time and money on salon visits.
- Promotes nail health: Buffing your nails helps to remove ridges and imperfections, promoting healthy nail growth.
- Long-lasting shine: Unlike nail polish, which can chip and fade, a nail buffer can provide a long-lasting shine to your nails.
- A nail buffer can be used for both real and fake nails, making it a useful tool for all your manicure needs.
How to Use a Nail Buffer
Using a nail buffer is a simple process that can be done in a few easy steps:
- Start with clean, dry nails: Make sure your nails are free of any polish or oils before using a nail buffer.
- Shape your nails: Use the coarse side of the buffer to shape your nails to your desired length and shape.
- Smooth the surface: Use the medium grit side to smooth out any ridges or imperfections on the surface of your nails.
- Shine: Use the fine grit side to buff your nails until they are shiny and smooth.
- Moisturize: After buffing, apply a cuticle oil or moisturizer to keep your nails and cuticles healthy.
Tips for Using a Nail Buffer
- Use light pressure: When buffing your nails, use light pressure to avoid damaging the surface of your nails.
- Buff in one direction: Buffing in one direction will help to create a smooth and even surface on your nails.
- Don’t over-buff: Over-buffing can thin out your nails and make them more prone to breakage. Limit buffing to once a week.
- Make sure to clean your nail buffer after using it. Use warm water and soap to get rid of any dirt or germs.
Buffer Nail Kits
If you’re new to using a nail buffer, it may be helpful to invest in a nail buffer kit.
These kits usually have different sandpaper and a tool to push back the skin around your nails. They make it simple to get shiny nails by yourself.
Look for kits that are made with high-quality materials and have positive reviews from other users.
In summary, a nail buffer is a necessary tool for getting flawless nails at home.
With its many benefits and easy-to-use design, it’s a must-have for any at-home manicure kit. So why not give it a try and see the difference it can make for your nails?